
UI overview #
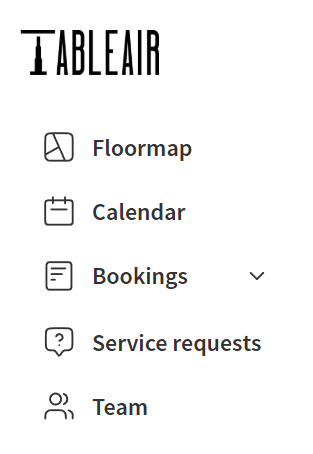
After a successful sign-in, the main application screen opens. On the left side of the screen, a vertical navigation menu provides access to the main areas of the application:
- Floormap – Displays the current floor or parking map, including all desks or parking spaces.
- Calendar – Opens the calendar view, where users can browse meeting room reservations by date.
- Bookings – Provides access to lists of upcoming and past reservations.
- Service requests – Allows users to create and track workplace-related requests, such as issues with spaces or equipment.
- Team – Contains information about people and organisational structure, including colleagues and teams.
At the bottom of the left navigation menu, the current user’s profile is displayed, including the user’s name and email address. Depending on your permissions, you can also access options to sign out, configure your settings, or open the Administrator area.
Most areas of the application share a common layout and user interface. At the top of the screen, you will find the following elements:
- Venue selection – A drop-down menu used to select the venue or building whose data you want to view.
- Date selection – Controls used to select the date or time period for which information, such as bookings or service requests, is displayed.
- Search field – Allows you to search or filter information. The search behavior depends on the currently selected area. For example, in Floormap, you can search for people or locations across multiple floors, while in table views, the search filters rows containing the entered search term.
- Filter icon – Opens an advanced filtering panel where you can filter data by criteria such as department, attributes, or other available properties.
Floor map 2D #
Opening the application or selecting Floormap displays a visual representation of the selected venue. From here, you can see which spaces are currently booked, search for available resources, and create bookings. Depending on your license, the map is displayed in either 2D or 3D view.
Map Navigation #
You can navigate the map by clicking and dragging it with your mouse and using the scroll wheel to zoom in or out. Additional navigation controls are available in the bottom-right corner of the Floormap:
- Zoom In / Zoom Out (+ / –) – Zoom in to view more details or zoom out for a broader overview of the venue.
- Zoom to Fit – Centers the map and adjusts the zoom level so that the entire floor is visible on the screen.
These controls make it easier to navigate the Floormap and locate specific areas or resources before creating a booking.
Map objects #
The Floormap provides a visual representation of the selected venue, with icons indicating the available resource types. The main resource icons are:
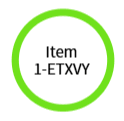
Icon represents desk or remote workplace
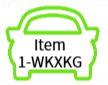
Icon represents desk or remote workplace

Icon represents meeting room
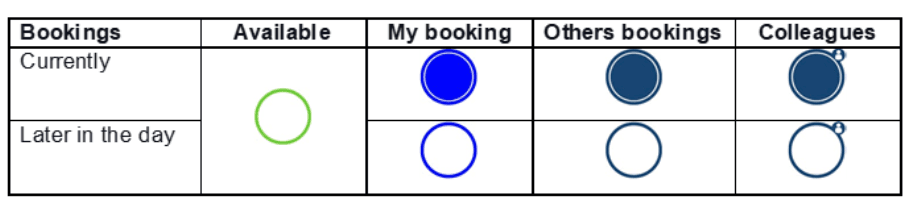
The appearance of each icon also reflects its booking status. Different colors indicate whether a resource is currently available, currently booked, or has upcoming bookings.
Timelines #
To check the availability of a meeting room, desk, or parking space, or to create a booking, click the corresponding icon. The resource timelines will be displayed on the left side of the Floormap.
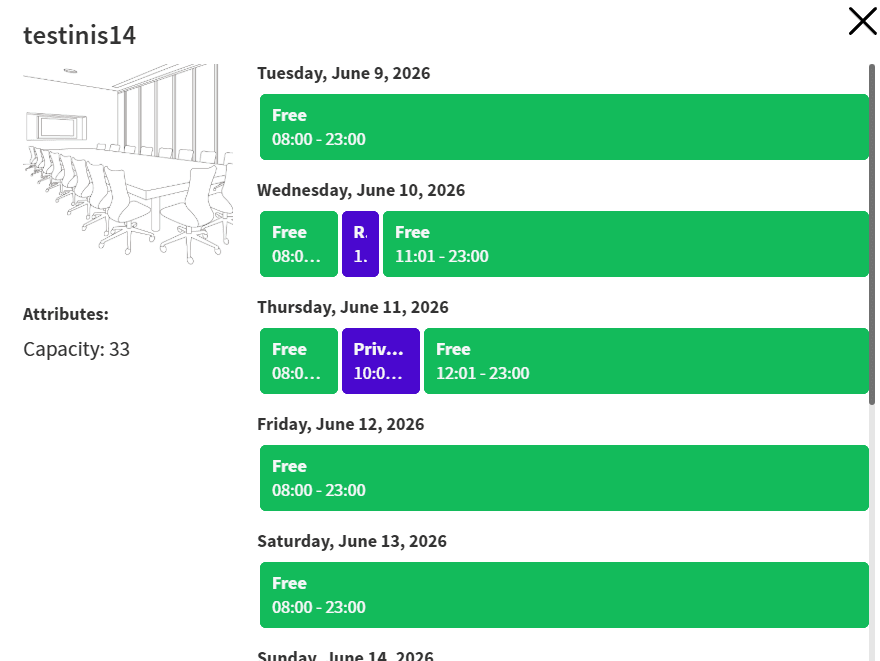
You can click any available time slot to create a booking or click an existing booking to edit it.
Floor map 3D #
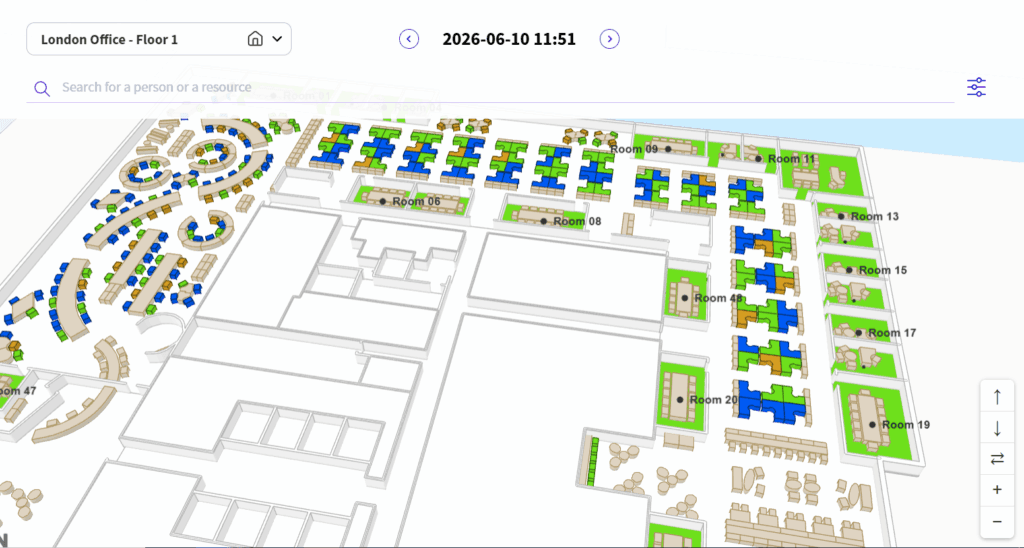
Customers with a PRO license can use 3D maps to visualize the office layout. This type of map provides additional navigation options, allowing users to choose which parts of the office they want to display. Users can seamlessly navigate between floors within a venue or even view multiple nearby buildings on the same map, if available.
Map navigation #
You can navigate the map by clicking and dragging it with your mouse and using the scroll wheel to zoom in or out. To change the viewing angle, hold the right mouse button and move the mouse. Additional navigation controls are available in the bottom-right corner of the Floormap:
- Zoom In / Zoom Out (+ / –) – Zoom in to view more details or zoom out for a broader overview of the area.
- Next Floor / Previous Floor – Move one floor up or down.
- Zoom to Fit – Centers the map and adjusts the zoom level so that the entire floor is visible on the screen.
Using these controls, you can adjust the view to more easily locate specific areas or resources before creating a booking.
Map objects #
3D maps provide greater flexibility in displaying selectable resources. Desks and parking spaces are typically represented by colored geometric shapes, while meeting rooms are highlighted by coloring the entire room area. Examples are shown below.
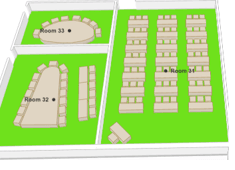
The image shows three different ways meeting rooms can be displayed in the system.
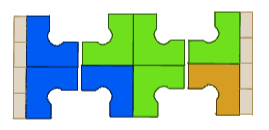
The image shows the different booking states of a desk. Green indicates that the desk is available, blue indicates that it is currently booked, and orange indicates that it has a future booking later that day.
Timelines #
To check the availability of a meeting room, desk, or parking space, or to create a booking, click the corresponding icon. The resource timelines will be displayed on the left side of the Floormap.
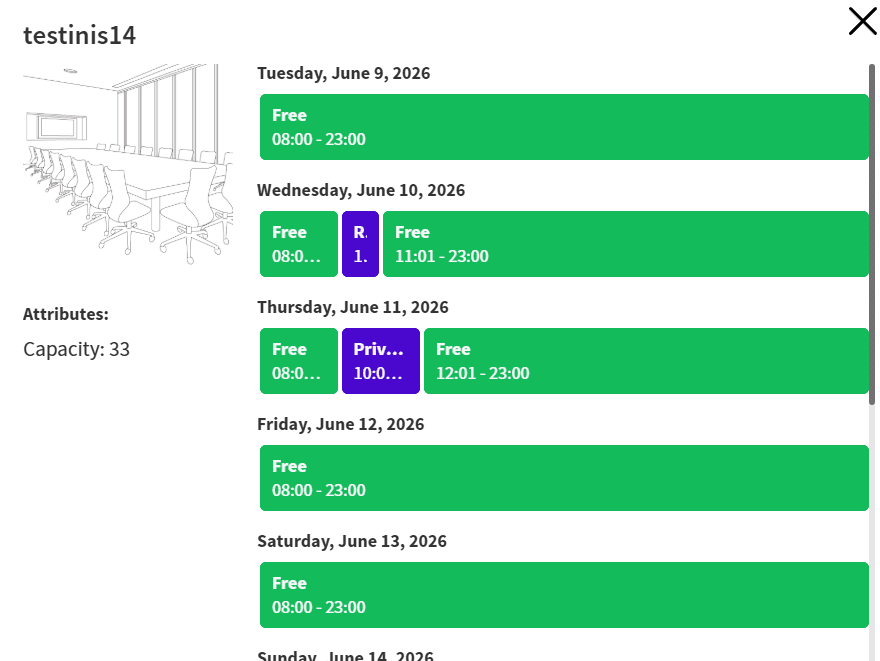
You can click any available time slot to create a booking or click an existing booking to edit it.
Calendar #
The Calendar provides an overview of the occupancy of multiple meeting rooms in one place.
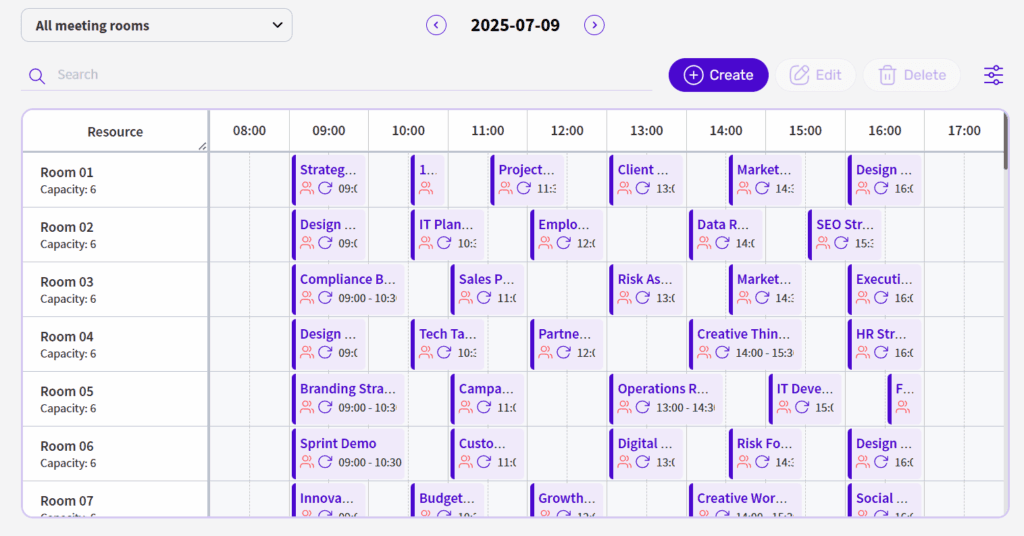
On the left side of the Calendar, you can see a list of meeting rooms together with their capacities. On the right, the timelines display the current meeting room bookings.
Additional icons provide more information about individual meetings:


Bookings #
The Bookings table provides direct access to booking data stored in the system. This view allows users to review booking information, analyze booking activity, and export data for further processing.
Use the filter at the top of the page to switch between the available views:
- My Bookings – Displays only the bookings associated with your account.
- All Bookings – Displays all bookings in the system. This option is available only to users with the required permissions.